
Last updated August 26, 2026
Free on-site gate assessment - hinges, posts, and your LiftMaster or Nice gate operator checked before anything is quoted
The assessment is free and the quote is the invoice.
 Before
 After
After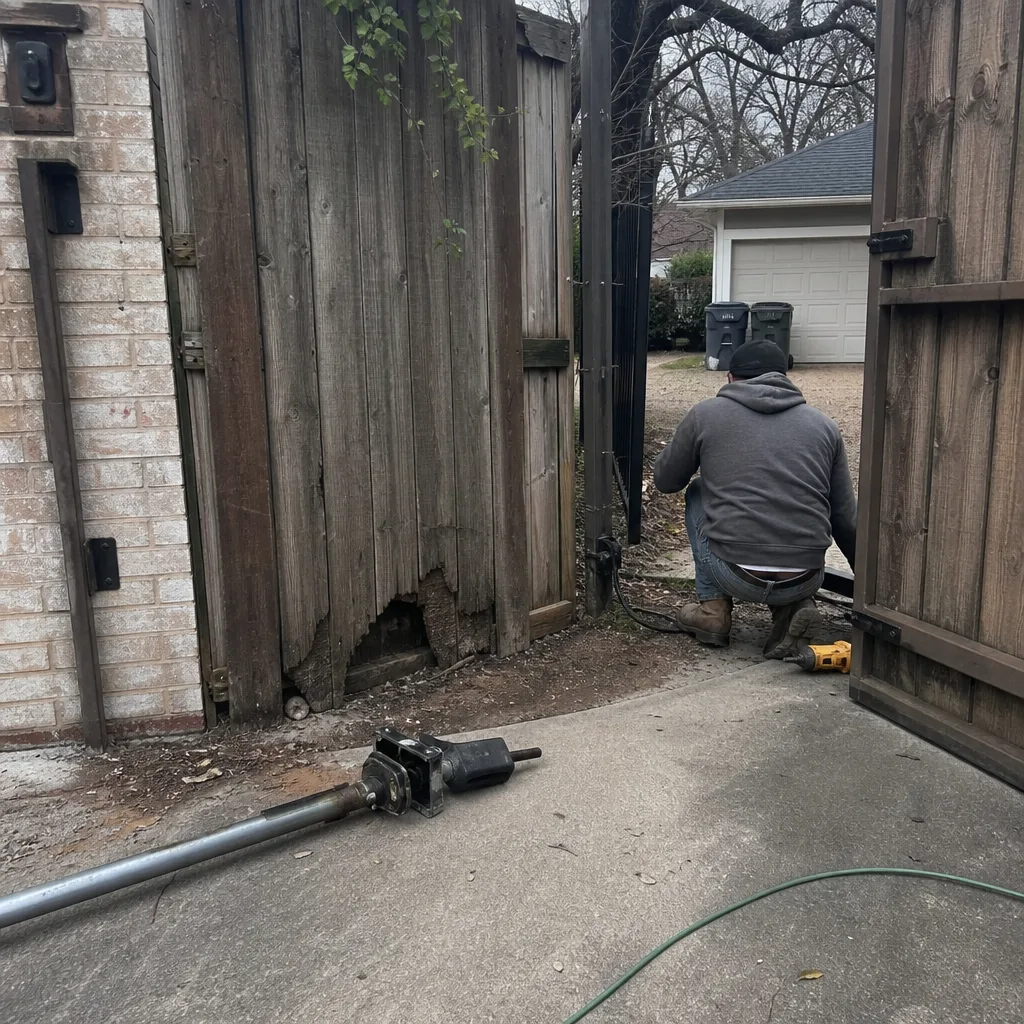 Before
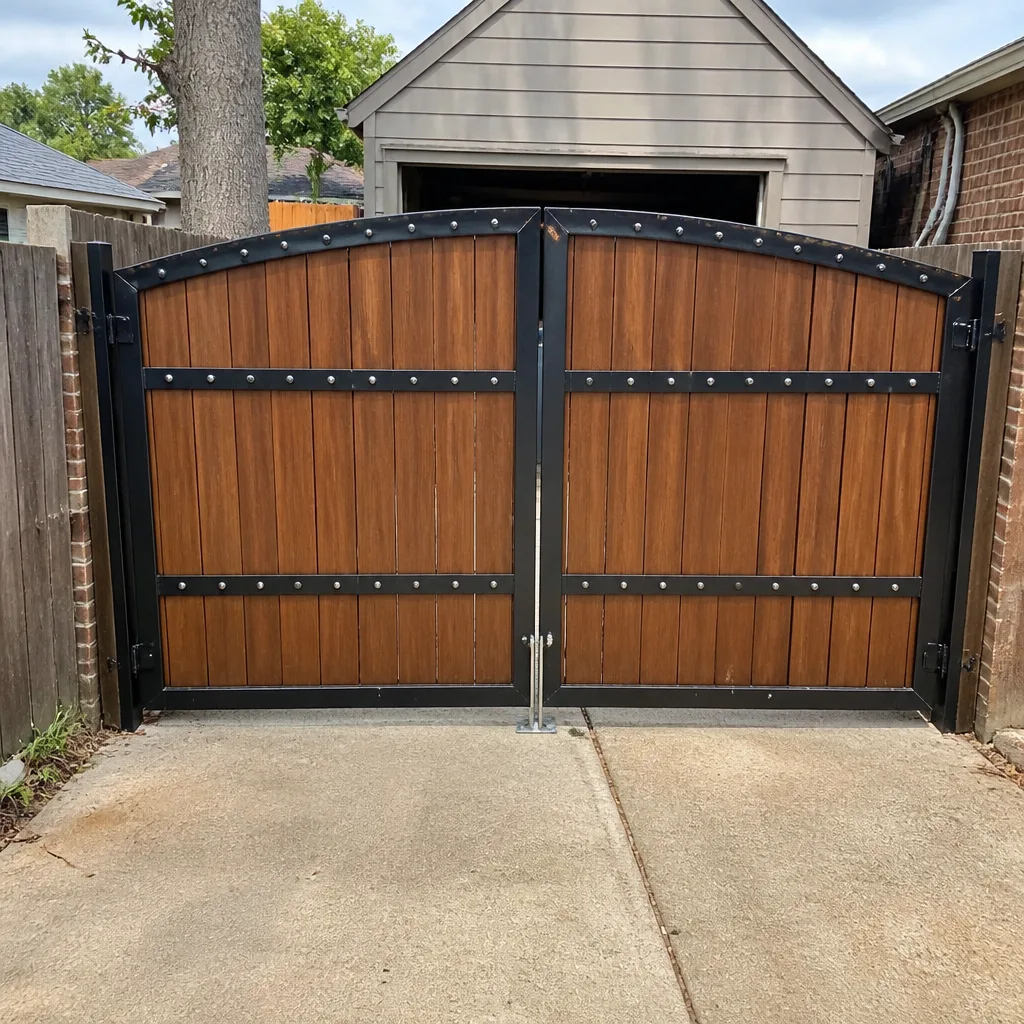 After
After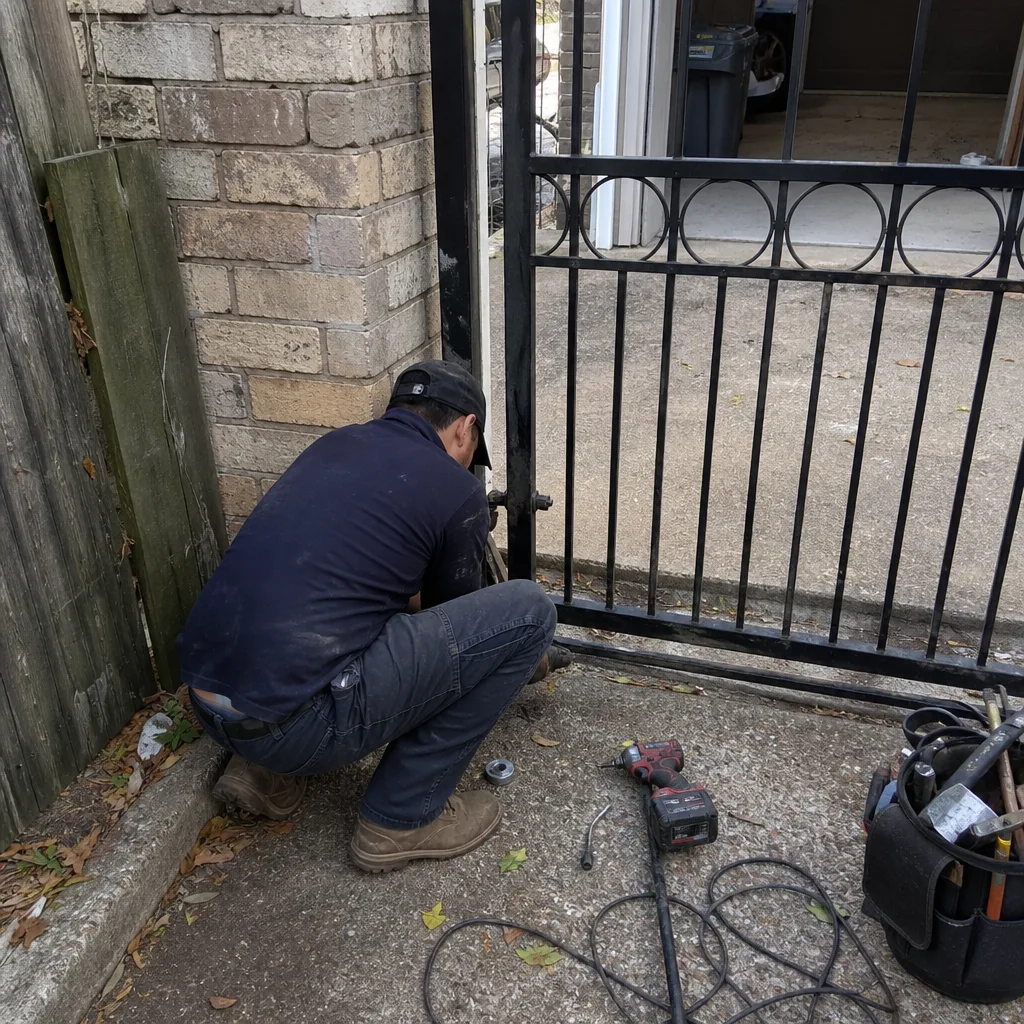 Before
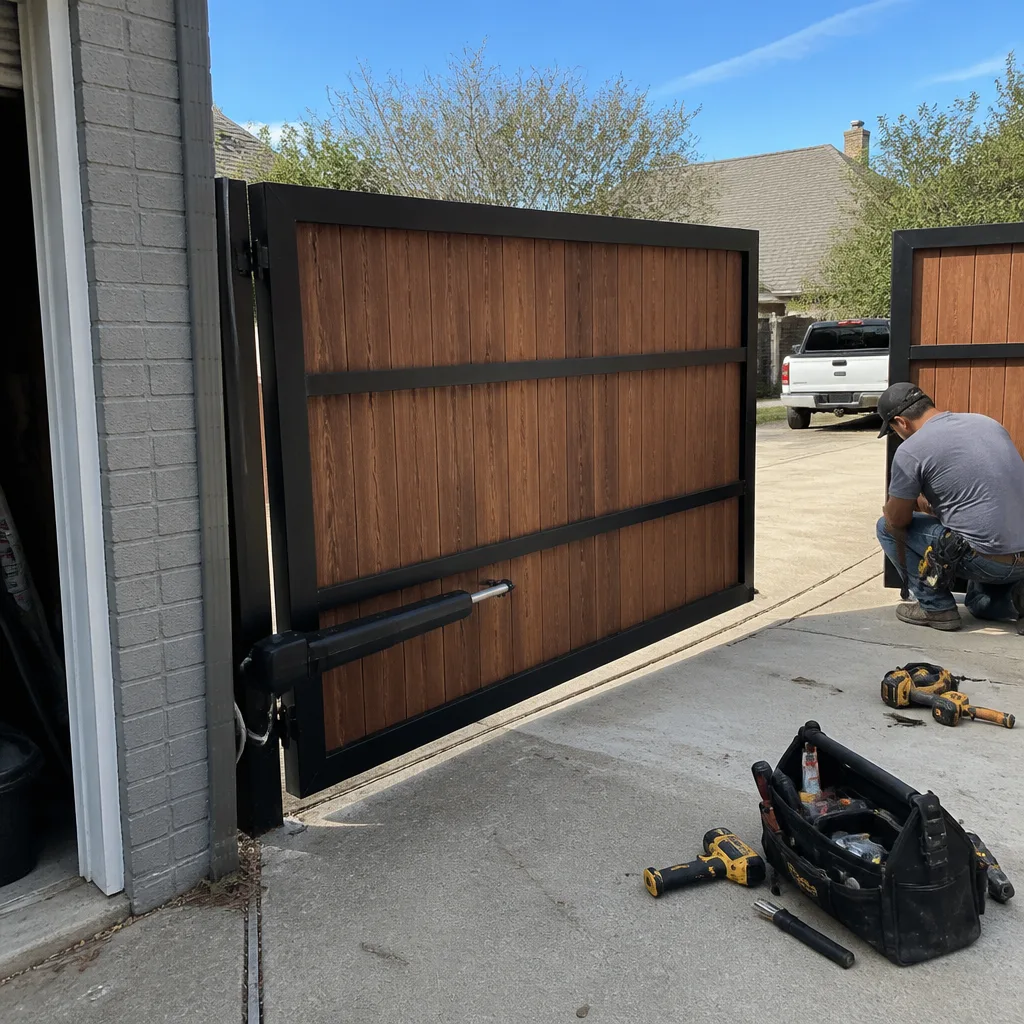 After
AfterDIY vs Professional Gate Repair: The Arlington Homeowner’s Decision Guide
Here’s something most gate companies in Arlington won’t tell you: some gate repairs are genuinely doable on a Saturday morning with tools you already own, and you shouldn’t pay anyone a dime for them. But other repairs, the ones involving loaded springs, structural welds, and 240-volt operator wiring, are how people lose fingers, burn out $600 circuit boards, or end up with a gate that falls on a car. This guide draws that line for you, task by task, because nobody should spend money they don’t need to spend, and nobody should get hurt trying to save a buck. For professional help, explore our Gate Repair services. You’ll learn which repairs make sense to tackle yourself, which ones to hand off, what the tools actually cost, and why Arlington’s summer heat and clay soil create failures you won’t read about in a generic DIY blog.
Quick Answer
DIY gate repair in Arlington makes sense for hinge lubrication, remote reprogramming, basic sensor realignment, and simple latch adjustments - tasks with no serious injury risk and no chance of wrecking a $400 motor if done slightly wrong. Anything involving gate springs, counterweights, structural welds, post removal or reset in concrete, or automatic opener wiring should go to a licensed professional, because the cost of fixing a failed DIY attempt on those typically runs 40 to 60 percent higher than the original repair would have.
Table of Contents
- The Honest Line: What You Can Fix and What You Shouldn’t
- DIY-Appropriate Gate Repairs (With Instructions)
- Do Not DIY: The Four Categories That Send People to Urgent Care
- The Real Tool Cost of Common Gate Repairs
- What a Bad DIY Repair Looks Like to a Professional
- Why Arlington Specifically Wrecks Gates (And What That Means for DIY)
- The Texas Liability Question: Automated Gates and Your Insurance
- Common Mistakes to Avoid
- When to Call a Professional
- Frequently Asked Questions
- The Bottom Line
The Honest Line: What You Can Fix and What You Shouldn’t
The DIY-versus-professional question is not about how handy you are. It’s about two things: whether a mistake can injure you, and whether a mistake costs more to undo than the repair cost in the first place. That’s the whole decision framework. Some tasks score low on both counts, and you should absolutely do those yourself. Others score high on one or both, and no amount of YouTube confidence changes the physics.
Here is the line we use, and it’s the line we’ve used since 2001. If the repair involves a component that is under tension, carrying electricity, or holding up several hundred pounds of steel, it’s a professional job. If it involves adjusting, cleaning, reprogramming, or aligning something that is not under load, it’s a fair DIY candidate. That’s it. That’s the honest line, and it holds whether you’re in Arlington, Pantego, Dalworthington Gardens, or anywhere else in Tarrant County.
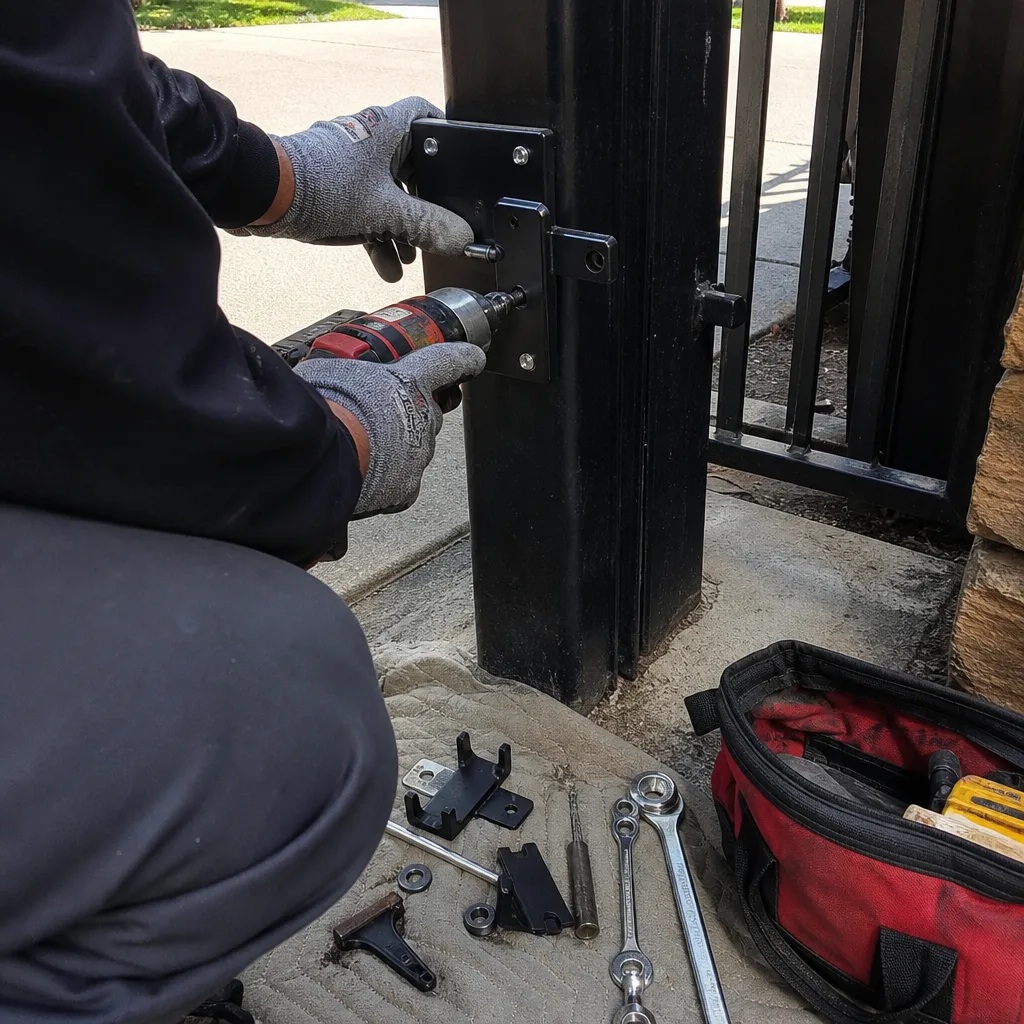
We regularly get calls from homeowners in south Arlington who watched a video on “simple gate spring adjustment” and then found out the hard way that a torsion spring on a slide gate holds enough stored energy to break a wrist. We’d rather you call us before that happens. But we’d also rather you keep your $90 service call in your pocket when all your gate needs is a shot of White Lithium grease on the hinge pins. See how that works? The honest answer goes both directions.
DIY-Appropriate Gate Repairs (With Instructions)
These four tasks are the ones we tell our own neighbors in Arlington to try themselves. None involve tension, electricity, or structural load. None require buying more than about $20 in supplies. And none will make a bad situation worse if you spend twenty minutes and then decide to call us anyway.
1. Hinge Lubrication
If your gate squeals like a stuck pig every time the wind blows, you do not need a service call. You need a can of White Lithium grease, which runs $7 to $11 at any Arlington hardware store, and about ten minutes. Here’s the honest step-by-step:
- Open the gate fully so the hinge barrels are exposed.
- Spray the grease directly into the top and bottom of each hinge barrel, right where the pin rides.
- Work the gate back and forth several times to pull the grease down into the hinge.
- Wipe away the excess with a rag so it doesn’t collect Arlington dust, which is alkaline and abrasive.
- Do this twice a year, in March and September. Arlington’s freeze-thaw cycles push moisture into ungreased hinges, and once rust starts in a hinge barrel, lubrication stops being a fix and becomes a replacement.
If the gate still squeals after lubrication, the hinge pin itself may be worn or bent, and that’s when you call us. But don’t pay a service call for a can of grease.
2. Remote Reprogramming
Your gate remote stopped working after a power blink or a battery swap. Before you assume the receiver in your LiftMaster or Mighty Mule opener is dead, try this:
- Open the remote’s battery compartment and confirm the battery is fresh and seated correctly. A weak battery causes intermittent “it worked yesterday” failures.
- Look for the Learn button on the opener control board. On LiftMaster and Mighty Mule units, it’s usually a small red or yellow button near the antenna wire.
- Press the Learn button once. The indicator light will blink.
- Press the remote button within 30 seconds. The light will go solid or blink twice, confirming the remote is paired.
- Test from 30 feet away. If it works, you just saved a service call.
If you try this twice and the remote won’t pair, the receiver board or the remote itself has failed. That’s a gate motor and opener repair, not a programming issue, and it’s worth handing off before you accidentally wipe the programming on a working remote.
3. Sensor Alignment
If your automatic gate reverses for no reason or won’t close, and your opener is a Mighty Mule or a Ghost Controls unit, the most common cause in Arlington is a photo eye that’s drifted out of alignment. The clay soil here expands and contracts with moisture, which slowly shifts gate posts, which throws off sensor alignment. It’s a ten-minute fix:
- Locate both photo eyes, one on each side of the gate opening, usually about 6 to 12 inches off the ground.
- Clean the lenses with a damp rag. Arlington’s dust comes in fine and alkaline, and a lens has to be nearly opaque before the opener tells you anything is wrong.
- Check that the small indicator light on each eye is solid, not blinking. A blinking light typically means misalignment.
- Loosen the mounting bracket screws just enough to move the eye, then aim it directly at the opposite eye. When the light goes solid, tighten the screws back down.
- Test the gate by walking through the path while it’s closing. It should reverse within a second.
If the lenses are clean, the lights are solid, and the gate still reverses, the problem is probably in the wiring or the control board, and that’s a professional repair. Don’t go digging around inside the control box if you don’t know what’s live.
4. Simple Latch Adjustment
If your swing gate doesn’t catch and hold, and the latch is a surface-mount gravity latch or a basic spring latch, you can usually fix it with a Phillips head screwdriver and five minutes. Here’s what’s actually happening, and what to do:
- Grab the top rail of the gate and try to lift it. If it moves more than a quarter inch, the hinge post or the hinges themselves are loose, and the latch is not your problem. Tightening or re-drilling hinge hardware is a repair, not an adjustment, so call us before the gate sags further.
- If the gate doesn’t lift, close the gate slowly and watch where the latch striker passes the catch. If the striker sits too high or too low, that’s why it won’t engage.
- Loosen the two or three screws holding the latch plate or the striker, shift it about an eighth of an inch in the direction that lines things up, and tighten the screws back down.
- Test it a dozen times. If it catches every time, you’re done.
The thing we tell Arlington homeowners about latches is this: a latch that needs constant adjustment is a symptom, not a problem. It usually means the gate post has started to lean, and adjusting the latch again is just buying time against a bigger repair. If you find yourself doing this every month, the post is moving, and that’s a professional job.
Do Not DIY: The Four Categories That Send People to Urgent Care
This is the section where we stop being diplomatic. There are four categories of gate repair where DIY crosses from “maybe not worth the savings” into “a genuine risk of injury or a repair bill that doubles.” We’re going to walk through each one plainly.
1. Gate Springs and Counterweights
A gate spring is not a screen door spring. A torsion spring on a slide gate, or the counterweight on a cantilever gate, is holding hundreds of pounds of stored mechanical energy. When it releases, it releases fast, and it does not care what’s in the way. Hal Gatewood has been fixing gates since 2001, and the worst thing he’s personally seen in this trade was a homeowner who tried to adjust a slide gate spring with a pair of vice grips and took the recoil through his hand. He lost three fingers. That’s not a story we tell to upsell you. It’s a story we tell because it happened, and because it didn’t have to.
If your gate spring is broken, sagging, or making a popping sound when the gate moves, leave it alone and call us. The spring assembly replacement on most Arlington residential slide or swing gates runs between $180 and $340 parts and labor, and a big chunk of that is the spring itself. See our Gate Repair Cost Breakdown: The Arlington Homeowner’s Reference for 2026 for full pricing details. That’s a rounding error compared to the emergency room bill you’re rolling the dice on.
2. Structural Welds
If a weld has cracked on your gate frame, or a hinge has torn loose from the post, you cannot fix that with JB Weld, self-tapping screws, or a Harbor Freight stick welder. You will make it worse, and here’s the honest arithmetic. A cracked weld that gets repaired properly takes thirty minutes on-site, and costs less than a service call from a chain outfit. A cracked weld that gets an attempted fix with bolts and then fails, typically takes out the surrounding metal when it lets go, which turns a 30-minute weld repair into a panel replacement or a post repair that costs four times as much.
We weld on-site in your driveway, which is the single biggest reason Gatewood Fence & Gate repairs what other companies replace. A gate sags in the hinge post, not in the middle, and if someone tells you the whole gate needs to come to the shop, look hard at whether they’re fixing the problem or picking up a bigger invoice.
3. Post Reset in Concrete
Arlington sits on expansive clay. The soil here swells when it rains and shrinks when it dries, and gate posts live in that cycle year-round. When a post starts to lean, the real fix is to pull or cut the post, dig the footing properly, set a new post in fresh concrete, and brace it level for at least 24 hours while the concrete cures. That sounds simple. It is not simple, because the old footing is usually bigger and deeper than you think, and breaking it out by hand is a full day of punishing work.
Here’s what we see when someone tries this themselves: they dig a shallow hole, set the post in half a bag of Quikrete, skip the bracing, and the post is leaning again before the HOA decal dries. Or worse, they don’t dig out the old footing at all, and the new concrete has nothing to bond to, and the gate falls over the first time a kid swings on it. Fix the panel without the post, and you’ll fix it twice. That’s not a slogan; it’s the most common repair pattern in this trade.
4. Automatic Operator Wiring
Gate openers have high-voltage input and low-voltage controls in the same box. A mistake on the high-voltage side can kill you. A mistake on the low-voltage side can short out a control board that costs $250 to $600 to replace. Either way, this is not the place to learn electrical troubleshooting.
And then there’s the safety side. Modern gate operators from DoorKing, Elite, and LiftMaster have built-in safety features: entrapment sensors, secondary entrapment protection, and adjustable force limits. If you wire the operator wrong or disable a sensor because you can’t figure out why the gate keeps reversing, you’ve created a gate that will close on a child, a dog, or a car without stopping. Arlington has no local exemption from Texas insurance law on this, and we’ll get into what that means for you in a minute, but for now just know this: operator wiring is where DIY gate repair stops being a money question and becomes a safety question.
The Real Tool Cost of Common Gate Repairs
The honest way to compare DIY against professional repair is to add up what the tools actually cost, not what you already own. Here’s the table we wish every Arlington homeowner would make before they start a project:
| Repair Task | Tools Needed | Tool Cost (if buying new) | DIY Supplies | Typical Pro Cost (Arlington) | Honest Verdict |
|---|---|---|---|---|---|
| Hinge lubrication | None | $0 | $7 - $11 grease | $75 - $120 service call | DIY, always |
| Remote reprogramming | None | $0 | $2 - $5 battery | $60 - $95 service call | DIY first, call if it fails |
| Sensor alignment | Phillips head | $0 | None | $75 - $110 service call | DIY with patience |
| Latch adjustment | Phillips head | $0 | None | $70 - $100 service call | DIY if post is solid |
| Hinge replacement | Drill, bits, impact driver, level | $120 - $250 | $25 - $60 hinges | $95 - $160 | Pro if hinges are welded |
| Gate spring replacement | Specialty winding rods, torque wrench | $80 - $150 | $35 - $100 spring | $180 - $340 | Pro, every time |
| Post reset in concrete | Jackhammer rental, post hole digger, level, concrete | $90 - $180 rental + $40 supplies | $25 - $50 concrete | $350 - $800 | Pro, every time |
| Welded frame crack repair | Welder, grinder, clamps, PPE | $500 - $1,200+ | $10 - $20 consumables | $120 - $300 | Pro, every time |
| Opener wiring diagnosis | Multimeter, screwdrivers, wire stripper | $40 - $80 | Varies | $95 - $180 diagnosis + repair | Pro, no exceptions |
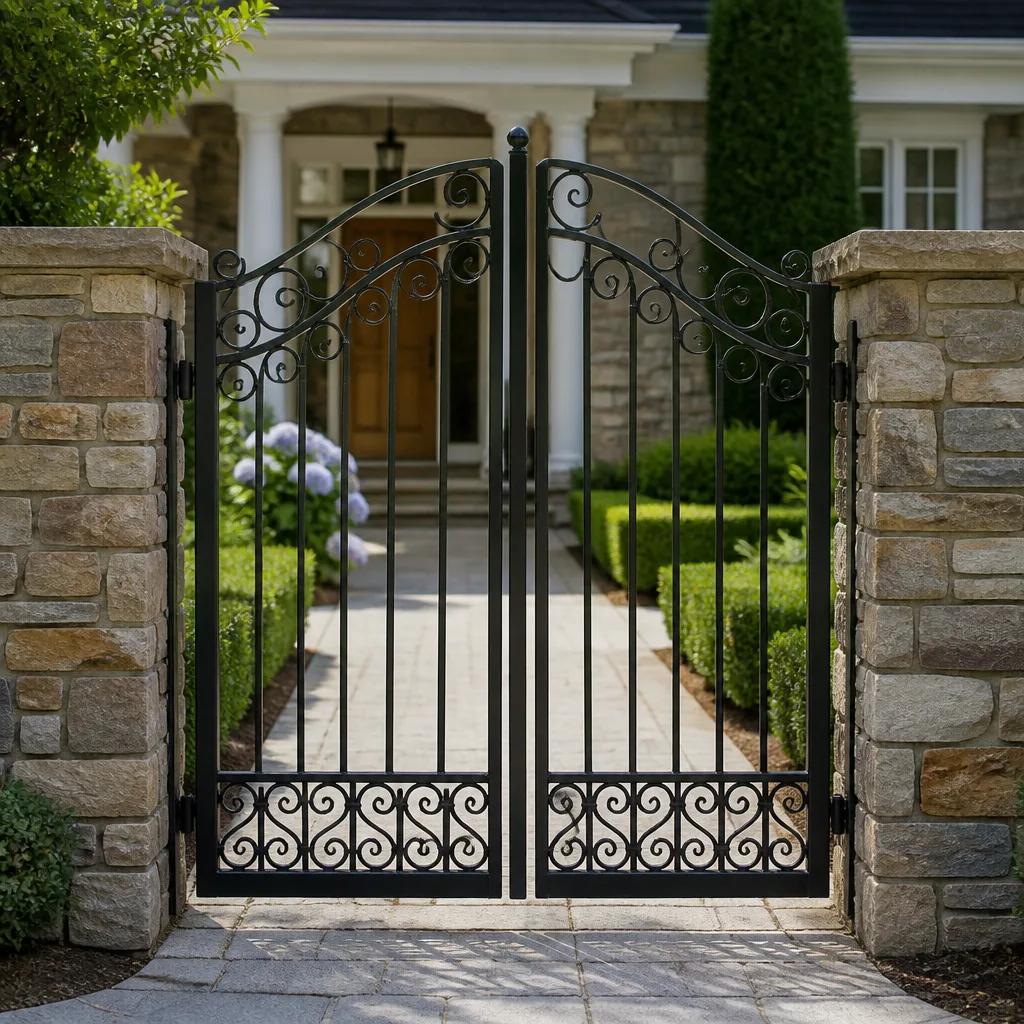
Look at the top four rows. Those are the DIY tasks. The tool cost is zero or close to zero because you already own a screwdriver, and the professional alternative means paying a service call for something a ten-minute Youtube video can walk you through. Now look at the bottom five rows. The hinge replacement becomes a pro job only when the hinges are welded to the gate frame, which is common on custom iron gates in older Arlington neighborhoods like Woodland West and Shady Valley, because drilling out welded hinges without a grinder is a half-day job that usually ends in a damaged panel.
The spring, the post, the weld, and the wiring always tip pro, not because the homeowner can’t learn the skill, but because the cost of the tools plus the cost of a mistake plus the safety risk does not add up in anyone’s favor. We’ll tell you that straight up, even though you’d think a gate company would push you the other direction.
What a Bad DIY Repair Looks Like to a Professional
When Hal Gatewood pulls up to a gate that someone tried to fix themselves, he can usually tell what was attempted before he gets out of the truck. And here is the part nobody tells you: a failed DIY repair usually costs more to fix than the original problem would have, because now there are two problems, and one of them is removal.
Here’s what we actually see in Arlington driveways:
- The sheet-metal screw special. A homeowner with a wobbly hinge post who ran a half-inch self-tapping screw through the hinge and into the post, then called it fixed. It held for three weeks, and now the screw has wallowed out the hole, and the hinge has to be repositioned or welded to fill the gap. The original repair was $95. The fix is $260.
- The chain-link tension bar shortcut. A homeowner with a sagging chain-link gate who cranked the tension bar like a guitar string until the gate frame bowed. Now the frame is warped, the mesh is loose on one side, and the gate needs to be pulled, squared, and re-meshed. Original fix: $120. After the shortcut: $310.
- The Wonder-Weld. A homeowner with a cracked iron gate who laid a bead of hardware-store epoxy over the crack and spray-painted it. It looked fine for a week. Then the gate caught a gust of Arlington spring wind, the epoxy sheared, and the crack propagated through the surrounding metal. The repair went from a 20-minute weld to a panel replacement.
- The mis-wired bypass. A homeowner whose gate kept reversing because the entrapment sensors were misaligned, so they jumped the sensor wire at the control board. The gate now closes fine, and it no longer stops for anything in the path. We find this one more often than we should, and we always stop the job until the safety circuit is restored.
None of these people were dumb. They were being careful with their money, and they got bad advice from people who don’t know Arlington’s soil, don’t know gate physics, and won’t be there when the gate falls. The real lesson is not “don’t try”; it’s “know the stakes before you touch it.”
Why Arlington Specifically Wrecks Gates (And What That Means for DIY)
Every region has a personality, and Arlington’s is written in its dirt and its weather. If you’re reading a generic gate repair guide, it won’t tell you this, and it matters more than any other factor in your DIY-versus-pro decision.
The Clay Soil Problem
Arlington sits on a belt of Blackland Prairie and Houston Black clay that expands and contracts like a sponge. When spring rains soak the soil, it swells and pushes gate posts outward. When summer hits and the soil bakes dry, it shrinks and the posts pull away from the concrete collar around the footing. This cycle runs every year, and it’s why gate posts in Arlington lean on a timeline that homeowners in other parts of Texas don’t experience.
There’s no DIY fix for clay soil movement. You can set a post perfectly level in March and watch it drift by July. The only real defense is a properly poured footing set below the shrink-swell zone, and that’s excavation work, not an afternoon project.
The Summer Heat and Electronics
The control boards in gate openers don’t love 105-degree heat any more than you do. Arlington summers push the internals of a LiftMaster or Elite operator to their thermal limits, and when a board overheats, it fails in ways that look intermittent: the gate opens but won’t close, or the remote works in the morning and quits by 3 p.m. When that happens, a homeowner’s first instinct is to blame the remote, or the battery, or the alignment. It’s rarely any of those. It’s heat-load failure on the board, and it’s a diagnosis that a professional gets from experience, not from swapping parts.
Wind and Cantilever Gates
Arlington gets genuine wind, not coastal wind, but wind that has plenty of fetch across the metroplex. Cantilever gates and large swing gates act like sails, and a weak weld or a shallow footing won’t announce itself until a gust grabs the gate and torque-tests every joint on it. When we see a gate that folded in a spring wind event, the root cause was usually a failing weld that had been failing for months. A homeowner doing a visual once-over would never catch it. A professional who sees twenty gates a week will.
The Texas Liability Question: Automated Gates and Your Insurance
This section doesn’t get covered in most DIY-versus-pro discussions, and it’s the one that could cost you more than the gate is worth.
In Texas, automated gates are governed by industry safety standards, primarily UL 325, which establishes the entrapment protection requirements for gate operators. When a professional gate company installs or repairs an automated gate system, they’re accountable to those standards. When a homeowner self-repairs an automated gate and something goes wrong, the question of who bears responsibility gets a lot murkier.
Here’s the scenario we worry about, and you should too. Let’s say you replace a gate opener board yourself, or you jump a sensor wire that was driving you crazy, and you don’t restore the entrapment protection properly. Then a neighbor’s kid, or your grandkid, gets pinned by the gate. In Texas, homeowner’s insurance covers personal liability claims, but here’s the part your policy doesn’t advertise: if the insurer determines that the injury resulted from an unlicensed, non-code-compliant self-repair, they can deny the claim. Then you’re defending a personal injury lawsuit out of pocket, and the emotional weight of what happened is yours to carry either way.
We’re not saying every DIY gate repair voids your coverage. A hinge lubrication won’t. A remote reprogram won’t. But a self-repaired automatic operator that closes on someone is exactly the kind of fact pattern that insurers look for when they’re deciding whether to deny a claim. And in Arlington, where gates are common on both residential driveways and in the mixed-use developments around the entertainment district, this isn’t a hypothetical.
This is the honest line one more time: the safety circuit on an automatic gate is not a convenience feature. It’s the difference between a gate that will stop and a gate that won’t. If you don’t know how to verify that the entrapment protection is functioning after a repair, that repair belongs in a professional’s hands.
Common Mistakes to Avoid
- Lubricating the opener chain or track with WD-40. WD-40 is a water displacer, not a lubricant. It evaporates and leaves the chain drier than before, and in Arlington’s dust it becomes a dust magnet. Use a proper chain lube or white lithium.
- Adjusting a gate spring without the right winding rods. Vice grips, screwdrivers, pry bars, none of them hold the tension properly, and all of them slip. The spring doesn’t care if you’re almost done; it releases when it wants to.
- Setting a post in a hole that’s too small and calling it done. If the old footing is still in the ground and you pour fresh concrete around it, the new concrete has nothing to bond to. The post leans again, and you’ve spent a weekend and $60 to buy a month.
- Ignoring a gate that’s slowly getting harder to open. Gates don’t get better on their own. A gate that’s dragging is usually telling you the post is leaning or the hinge is failing, and every week you wait is another week of load on the part that’s failing.
- Buying the cheapest spring or hinge on Amazon. Gate hardware has load ratings, and the cheapest option is usually underrated for a heavy solid-iron gate. It fails early, and when it fails, it takes surrounding hardware with it.
- Skipping the bracing step on a post reset. Concrete reaches full strength over weeks, not hours. If you don’t brace the post level while it cures, it cures in whatever position it’s currently leaning, and you’ve permanently set the problem.
When to Call a Professional
Call us when any of these things are true: the gate is making a sound you’ve never heard before, the post is visibly leaning, the gate is dragging or binding, the opener is behaving inconsistently, you see a crack in any weld, or you touched any of the four “do not DIY” categories above. If you’re not sure which category your problem falls into, that’s a good sign it’s time to call before you touch it.
We’re Gatewood Fence & Gate, and we’ve been fixing gates in Arlington since 2001. Every job carries a 90-Day Done Right Promise in writing, and if it’s not done right, one call brings Hal Gatewood back. We offer gate repair in Arlington with a live person answering 24-7, and a free second opinion on any written estimate you’ve gotten from another company. Call (817) 241-4067, describe what you’re seeing, and we’ll tell you honestly whether it’s worth a service call or whether you should just grab a can of grease and save your money. We’d rather you not need us than need us twice.
Frequently Asked Questions
Gate repair in Arlington typically runs between $95 and $800 depending on the problem, with simple latch adjustments and sensor realignment at the bottom of that range, spring replacements between $180 and $340, and full post resets in concrete between $350 and $800. Gatewood Fence & Gate quotes every job with upfront pricing, no trip charge inside the county, and the price is agreed before any work starts. Call (817) 241-4067 for an exact quote, and remember we offer a free second opinion on any written estimate you’ve already received.
Yes, most gate repairs in Arlington are same-day jobs because our trucks carry the common parts: gate springs, hinges, remotes, bearing sets, and the welding rig for structural repairs. We answer the phone with a live person around the clock, and if you need a gate fixed today, call (817) 241-4067 and describe the problem. We’ll tell you over the phone whether same-day is realistic for your specific repair, and for genuine emergencies like a gate that won’t close or a failed post, we get to Arlington fast.
Gatewood Fence & Gate service nine major gate brands including DoorKing, Mighty Mule, LiftMaster, Elite, FAAC, BFT, Linear, Viking, and Ghost Controls. We stock common control boards, recievers, and remotes for these systems, and our technicians are certified across all nine. If your opener is one of these brands and it’s behaving strangely in the Arlington heat, call (817) 241-4067 and describe the symptom, because most intermittent-opener problems are a 20-minute diagnosis once someone who knows the brand gets their hands on it.
Yes, and don’t be embarrassed. A big portion of our repair work in Arlington starts as a fix after a DIY attempt, and we’ve never met a homeowner whose gate we couldn’t rescue. What we’ll do is straightforward: stop the gate from doing whatever it’s doing wrong, remove the attempted repair if it’s unsafe or causing a new problem, and then fix the original problem properly. The repair will carry the same 90-Day Done Right Promise as any other job, and the price gets quoted and agreed before we touch anything.
We handle both, including full gate installation in Arlington for residential and light commercial properties, from simple chain-link driveway gates to custom iron swing gates and automatic slide gate systems. A new gate or operator isn’t a same-day job; it’s measured, quoted, ordered, fabricated, and installed with the post footings sized for Arlington’s clay soil. Call (817) 241-4067 for a free measure and a written price, and ask about the permanent 10% discount for seniors and veterans.
Automated gate operators in Texas, including Arlington, must meet UL 325 entrapment protection standards, which require inherent entrapment sensing and external entrapment protection like photo eyes or contact edges. A gate that reverses when it hits an obstacle is good, but a gate that has secondary entrapment protection and an operational safety circuit is what prevents the worst outcomes. If your gate has been self-repaired and you’re not sure whether the safety features are working, call (817) 241-4067 and schedule a check, because a gate that closes on someone is a liability question you don’t want to learn about through experience.
The Bottom Line
The DIY-versus-professional question for gate repair in Arlington is not a test of your competence. It’s a calculation of risk and cost, and most of the time, the answer is obvious if you look at it honestly. Lubricate your own hinges. Reprogram your own remote. Align your own sensors. Adjust your own latch, as long as the post is solid. But leave the springs, the welds, the post footings, and the operator wiring to someone who does this every day, because the cost of getting those wrong is measured in fingers, insurance denials, and repair bills that double. When in doubt, call Gatewood Fence & Gate at (817) 241-4067. We’ll tell you the truth, even when the truth is that you don’t need us.
Written by Hal Gatewood, Owner at Gatewood Fence & Gate, serving Arlington since 2001.